1. Define Your Objective
Before diving into AI tools, clarify the purpose of your video:
- Type of Content: Are you creating a promotional video, explainer, animation, social media clip, or cinematic sequence?
- Audience: Who is the target audience? This influences tone, style, and platform.
- Length: Short-form (e.g., TikTok, Instagram Reels) or long-form (e.g., YouTube, corporate video)?
- Style: Realistic, animated, abstract, or a specific aesthetic (e.g., retro, futuristic)? Having a clear goal helps guide the AI tool selection and input prompts.
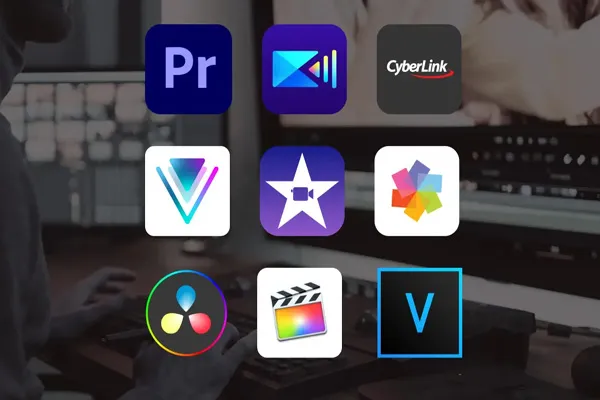
2. Choose the Right AI Video Generation Tool
Several AI tools specialize in video content creation, each with unique strengths. Here are some popular options as of April 2025:
- Runway: Offers text-to-video, image-to-video, and video editing capabilities. Ideal for creating high-quality, customizable videos with Gen-3 Turbo.
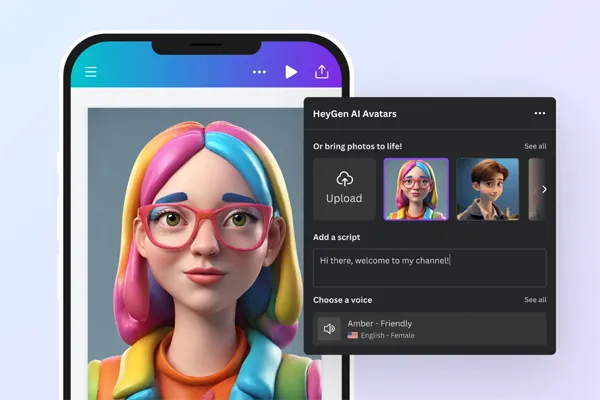
- Synthesia: Best for creating AI avatar-based videos, such as talking-head presentations or tutorials, using text input.
- Pictory: Converts text (e.g., scripts, blogs) into engaging videos with stock footage, voiceovers, and animations.
- Kaiber: Focuses on artistic and music-driven videos, great for abstract or animated content.
- VEED.io: Combines AI video editing with generation, suitable for quick social media content.
- Sora (OpenAI): If available, generates high-fidelity videos from text prompts, excelling in creative storytelling (availability may vary).
- Luma AI: Generates 3D and cinematic videos, often used for dynamic scenes or product visualizations.
Selection Tip: Choose based on your needs—e.g., Synthesia for professional avatars, Runway for cinematic outputs, or Pictory for repurposing text content.
3. Craft Effective Input Prompts
The quality of AI-generated video depends heavily on the input prompt. Follow these tips:
- Be Specific: Include details about the scene, characters, setting, mood, and camera angles. Example: “A futuristic city at sunset, with flying cars, neon lights, and a cinematic wide-angle shot.”
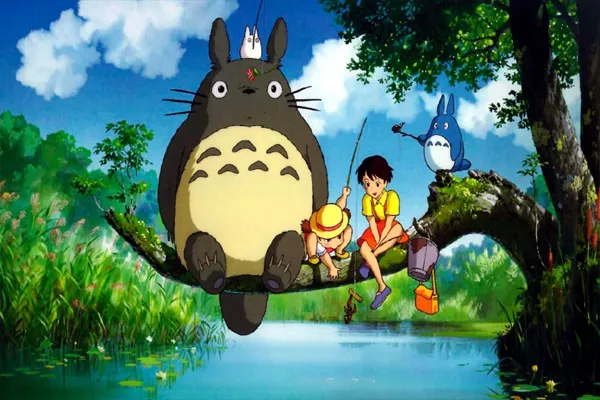
- Define Style: Specify if you want photorealistic, cartoon, or a particular art style (e.g., “Studio Ghibli-inspired animation”).
- Set Duration: Some tools allow you to define video length (e.g., 5 seconds or 30 seconds).
- Iterate: If the output isn’t perfect, refine the prompt with more or fewer details.
Example Prompt: “A 10-second clip of a serene beach at sunrise, waves crashing gently, seagulls flying, in a realistic style with vibrant colors, medium shot.”
4. Input Additional Assets (Optional)
Many AI tools allow you to enhance videos by uploading:
- Images: Use a reference image to guide the AI (e.g., Runway’s image-to-video feature).
- Audio: Add music or voiceovers to sync with the visuals.
- Existing Footage: Upload clips to edit or extend using AI. This is useful for maintaining brand consistency or creating variations of existing content.
5. Generate and Preview the Video
- Run the AI tool with your prompt and assets.
- Preview the output. Most tools generate a draft in seconds or minutes, depending on complexity.
- Check for issues like unnatural movements, inconsistent lighting, or artifacts (common in early AI video models).
6. Edit and Refine
AI-generated videos often need post-processing:
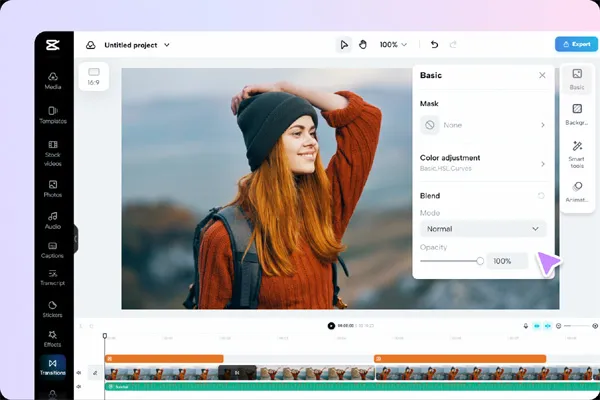
- Trim and Adjust: Use built-in editors in tools like Runway or VEED.io to cut unnecessary parts or adjust pacing.
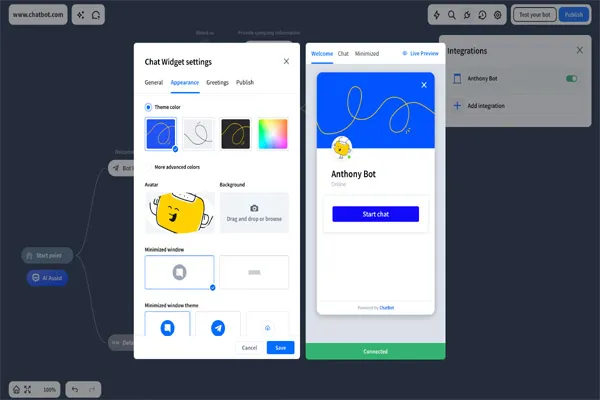
- Add Text/Effects: Overlay captions, logos, or transitions for polish.
- Enhance Audio: Add AI-generated voiceovers (e.g., ElevenLabs) or royalty-free music.
- Fix Imperfections: Some tools allow inpainting or frame-by-frame edits to correct errors.
7. Export and Share
- Export in the desired resolution (e.g., 1080p, 4K) and format (e.g., MP4, MOV).
- Optimize for the platform (e.g., vertical for Instagram Stories, 16:9 for YouTube).
- Share directly via the tool’s integrations or download for manual upload.