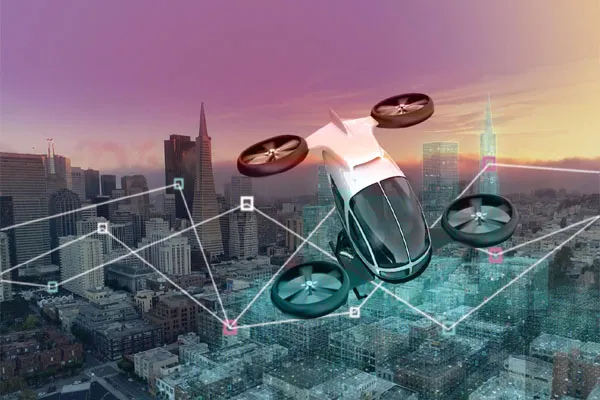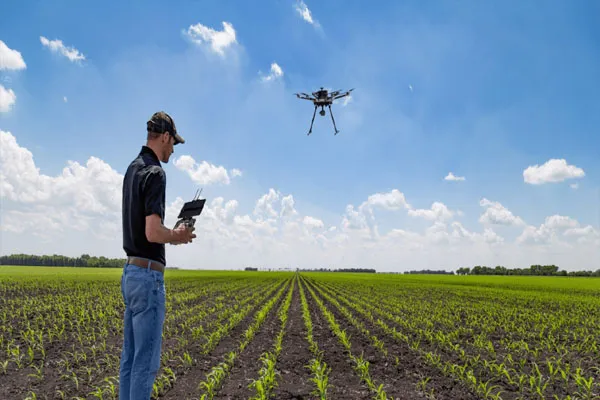
Aerial shooting with drones combines pilot skills, camera knowledge, and safety awareness — this guide gives clear, practical steps so you can capture cinema-quality footage while staying legal and safe.
1) Legal & safety basics (must do before you fly)
-
Check local rules: Know registration, maximum altitude, distance-from-people limits, and any no-fly zones (airports, prisons, government buildings).
-
Permissions: Get permits or landowner consent if needed; for commercial work, check local commercial drone rules.
-
Respect privacy: Don’t film people on private property without consent.
-
Insurance: Get liability and equipment insurance for commercial work.
-
Weather: Don’t fly in heavy wind, rain, fog, or near lightning. If gusts exceed your drone’s spec, don’t fly.
-
Keep visual line of sight (or follow local regulation if BVLOS approved): always be able to see the drone, or use an observer if rules permit.
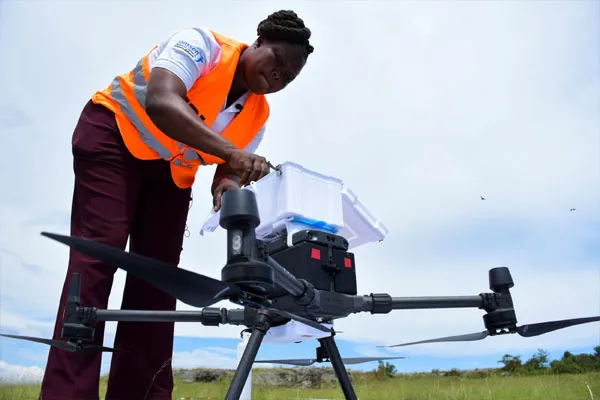
2) Pre-flight checklist (quick)
- Firmware & app: update drone, remote, and camera firmware; open the flight app and ensure maps are loaded.
- Batteries: fully charged for drone and controller; carry spares.
- Propellers: inspect for chips/cracks; tighten.
- SD card: formatted, enough space, and fast enough for your codec/frame rate.
- Compass/GPS: calibrate if prompted; wait for sufficient GPS locks.
- Camera settings: set exposure, white balance, frame rate, codec, ND filter.
- Safety gear: first aid kit, spotter, fire extinguisher (if in remote dry areas), phone.
- Flight plan & shot list: know the shots, altitudes, and emergency landing spots.
- NOTAMS/no-fly zones: check (or confirm with relevant tools/apps).
- Takeoff area: clear, flat, away from people, animals, and obstacles.
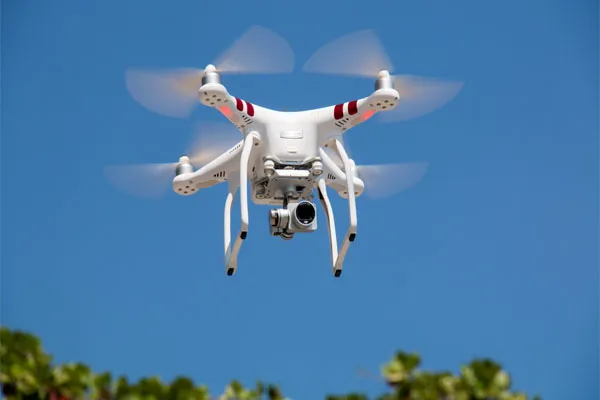
3) Basic flight controls & smooth flying
-
Trim & slow inputs: fly with small, smooth stick movements; anticipate motion.
-
Use modes: practice in GPS/Beginner mode first; switch to Sport only when safe.
-
Yaw vs. Roll/Pitch: keep yaw (rotation) slow while moving; sudden yaw while moving causes jerky footage.
-
Hover practice: master stable hover at different altitudes and wind conditions.
-
Gimbal control: learn to tilt smoothly; avoid abrupt gimbal changes while moving.
-
Return-to-home (RTH): know how it behaves — altitude, obstacles, and landing behavior — and set adequate RTH height.
4) Camera settings & exposure for video
-
Frame rate & shutter: follow the 180° shutter rule — shutter ≈ 2× frame rate (e.g., 1/50s for 25fps) for natural motion blur.
-
ISO & aperture: keep ISO low to reduce noise; use ND filters to maintain shutter rule in bright light. Set aperture to balance sharpness and depth of field (if adjustable).
-
White balance: set manually to avoid flicker/shift in clips.
-
Log vs. Rec709: shoot Log if you’ll color grade (gives more dynamic range), otherwise shoot standard profile for quick use.
-
Bitrate & codec: use the highest practical bitrate and a modern codec (e.g., H.265/ProRes if available) for better color grading.
5) Composition & cinematic movement
-
Rule of thirds & leading lines: place subject on intersections; use landscape features to lead the eye.
-
Reveal & hide: use obstacles (trees, buildings) to reveal subject dynamically.
-
Move with purpose: choose one movement per shot — push, pull, orbit, rise, descend, slide. Combine slowly.
-
Orbit (circle) shots: keep altitude constant; yaw slowly to keep subject framed.
-
Dolly (push/pull): move straight toward/away from subject while keeping gimbal steady.
-
Drone speed: match movement speed to subject and focal length; long lenses need slower motion.
-
Scale shots: fly high and pull back to show environment; fly low and close for drama.
6) Shot ideas (simple shot list)
-
Establishing Top-Down (Bird’s Eye): straight down reveal of location.
-
Reveal Rise: start low behind an object, ascend to reveal scene.
-
Push-in / Pull-out: move toward or away from subject for emotional effect.
-
Orbit Around Subject: keeps subject centered, great for portraits or structures.
-
Tracking (Lateral Follow): follow vehicles or people at constant distance.
-
Dramatic Timelapse / Hyperlapse: use interval or stabilized flight paths for motion timelapse.
-
Fly-through: pass through archways or gaps (only if wide, safe, and practiced).
7) Lighting & weather tips
-
Golden hour (sunrise/sunset): best contrast and colors; lower dynamic range, so plan exposure.
-
Midday: harsh shadows — use ND for shutter rule and consider higher altitudes for less contrast.
-
Cloudy days: soft light, easier exposure control; great for even tones.
-
Wind: anticipate drift; shoot into wind for stability when possible; lower altitude reduces gusts sometimes.
8) Advanced maneuvers & techniques
-
Cinematic easing: use slow acceleration and deceleration; many flight apps/gimbals support easing curves.
-
Waypoint missions: preprogram complex repetitive paths for consistent shots.
-
Dolly zoom (Vertigo effect): requires synchronized camera zoom and drone movement — practice on the ground first.
-
Multi-drone shots: requires coordination, clear separation, and frequency management — only with permits and trained pilots.
9) In-field troubleshooting & emergencies
-
Loss of signal: switch to RTH if safe; be ready to take manual control.
-
Low battery: land immediately; always keep reserve (20–30% or more depending on conditions).
-
Motor/ESC overheating: land and let cool; check for obstructions.
-
Crash procedure: prioritize people safety; retrieve when safe and inspect for damage before next flight.
10) Post-production basics
-
Color grading: if shot in Log, apply LUTs then fine tune exposure, contrast, and color.
-
Stabilization: modest digital stabilization can help, but avoid over-cropping.
-
Speed ramps: combine 24/25fps base footage with 60/120fps slow motion for dynamic edits.
-
Audio: drone motors are loud — use external audio recorded on ground for ambience or voiceovers.